Syncing Time Tracking to Jira
Jira has a built-in feature called worklogs — time entries that record how long someone spent on an issue. You can view them in the issue sidebar under "Time tracking" and use them for reporting and billing.
Teamplify can automatically create and update these worklogs based on its time tracking calculations. This keeps your Jira issues updated with accurate time data without any manual effort.
How it works
When sync is enabled, Teamplify writes worklogs for each team member for the previous completed calendar day ("yesterday") only — there is no backfill for older dates. Worklogs for each day are written overnight, based on the user's local timezone.
The approach is append-only: Teamplify only creates new worklog entries and never modifies or deletes existing ones. One worklog entry is created per person, per issue, per day. For example, if a developer worked on a task for 3 days, Teamplify creates three separate entries in Jira — one for each day — rather than a single aggregated entry.
Time spent is calculated based on the working hours per day configured in your Jira integration settings (defaults to 8 hours if not set).
If a developer has already logged time manually on an issue for a given day, Teamplify will distribute the remaining time among other issues they worked on that day. If the manually logged time covers a full day or more, no automatic worklogs will be written for that day.
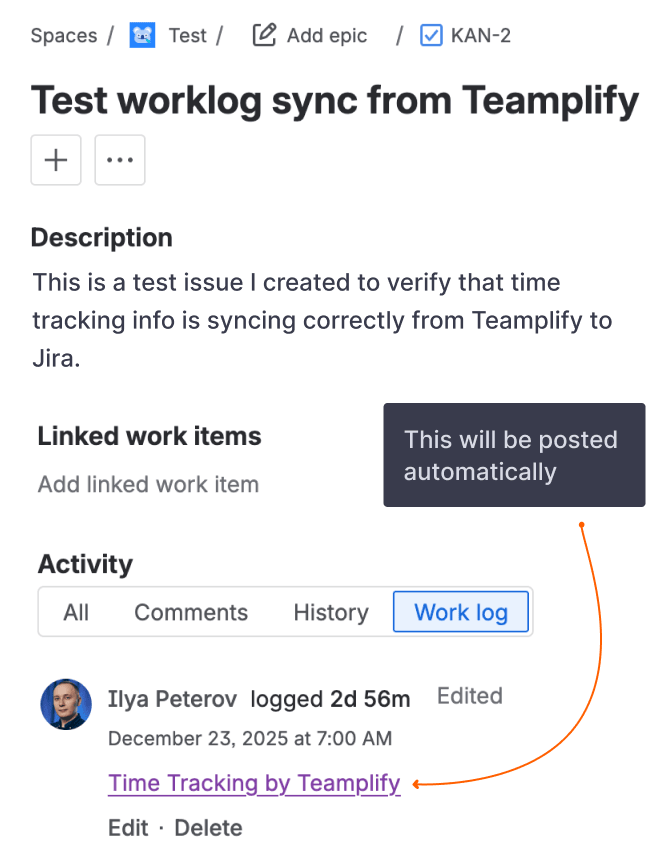
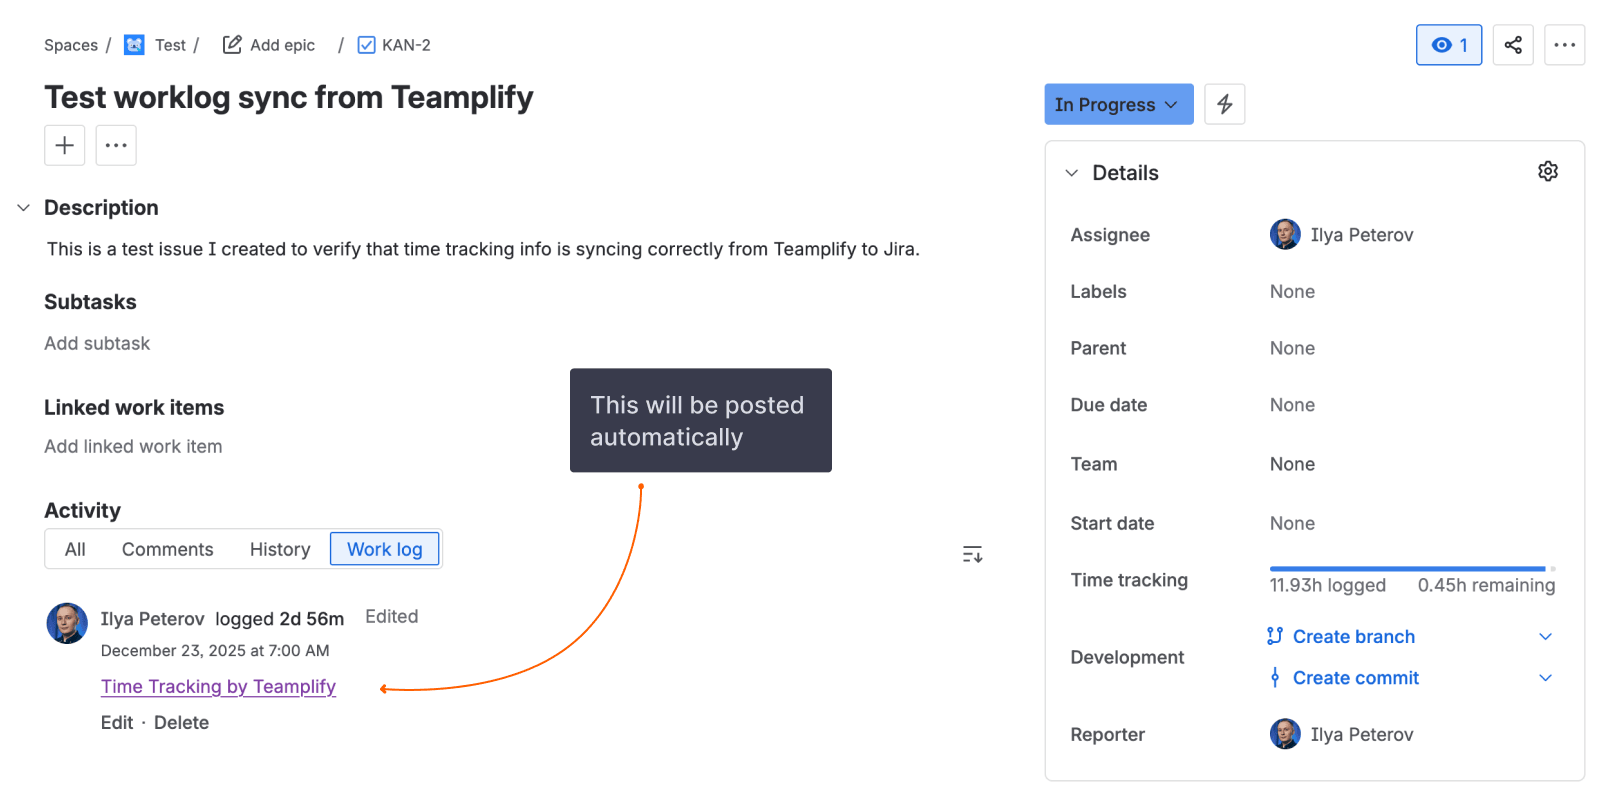
Each worklog created by Teamplify includes the comment "Time Tracking by Teamplify" so you can identify which entries were created automatically.
The sync works in both directions. If a developer logs time manually in Jira, Teamplify reads those worklogs and uses them in its own time tracking calculations. This means your Teamplify reports will reflect manual time entries from Jira as well.
Automatic and manual worklogs
Teamplify adds a special comment to each worklog it creates: "Time Tracking by Teamplify". This marker tells Teamplify which worklogs it manages, so it knows what to update on subsequent syncs.
Worklogs without this marker are treated as manual entries — Teamplify leaves them alone and never modifies them.
If you want to override a Teamplify-managed worklog with your own value, simply remove or edit the "Time Tracking by Teamplify" comment. Once the marker is gone, Teamplify will treat it as a manual entry and stop updating it.
Keep in mind that if you only change the time value but leave the Teamplify comment in place, your changes will be overwritten on the next sync.
How to set up
This feature is available for Jira Cloud only. To enable it:
- Connect a Jira Cloud integration if you haven't already
- Install the Teamplify for Jira app in your Jira instance
- In your Jira integration settings in Teamplify, turn on the Sync worklogs to Jira option
- Ensure team members have connected their Jira accounts to their Teamplify profiles
Worklogs are only synced for people who have connected their Jira account. Because of that, you can try out the feature with just a few people first, and expand to the rest of the team later if you like it.
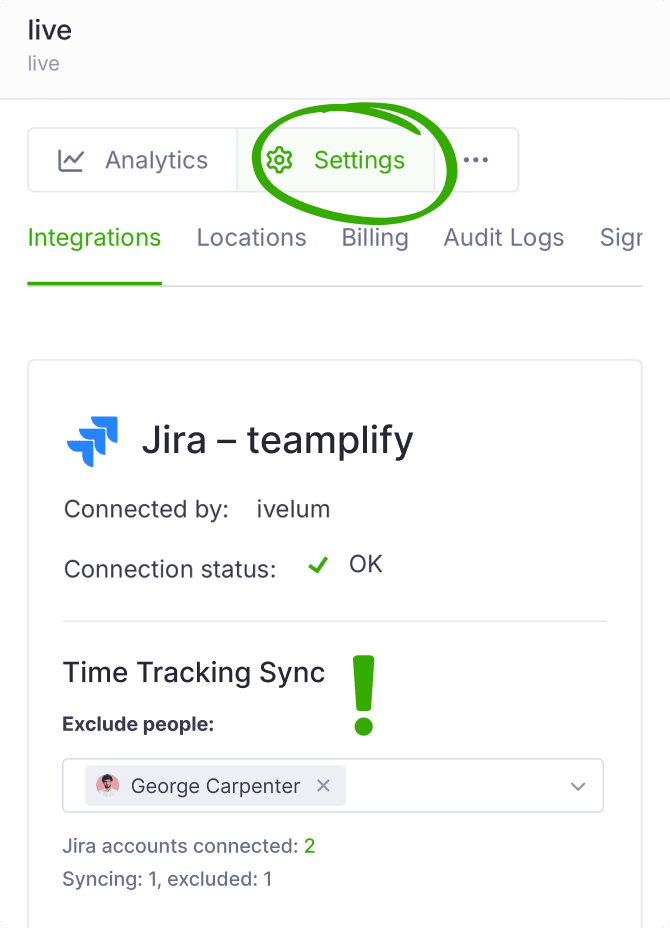
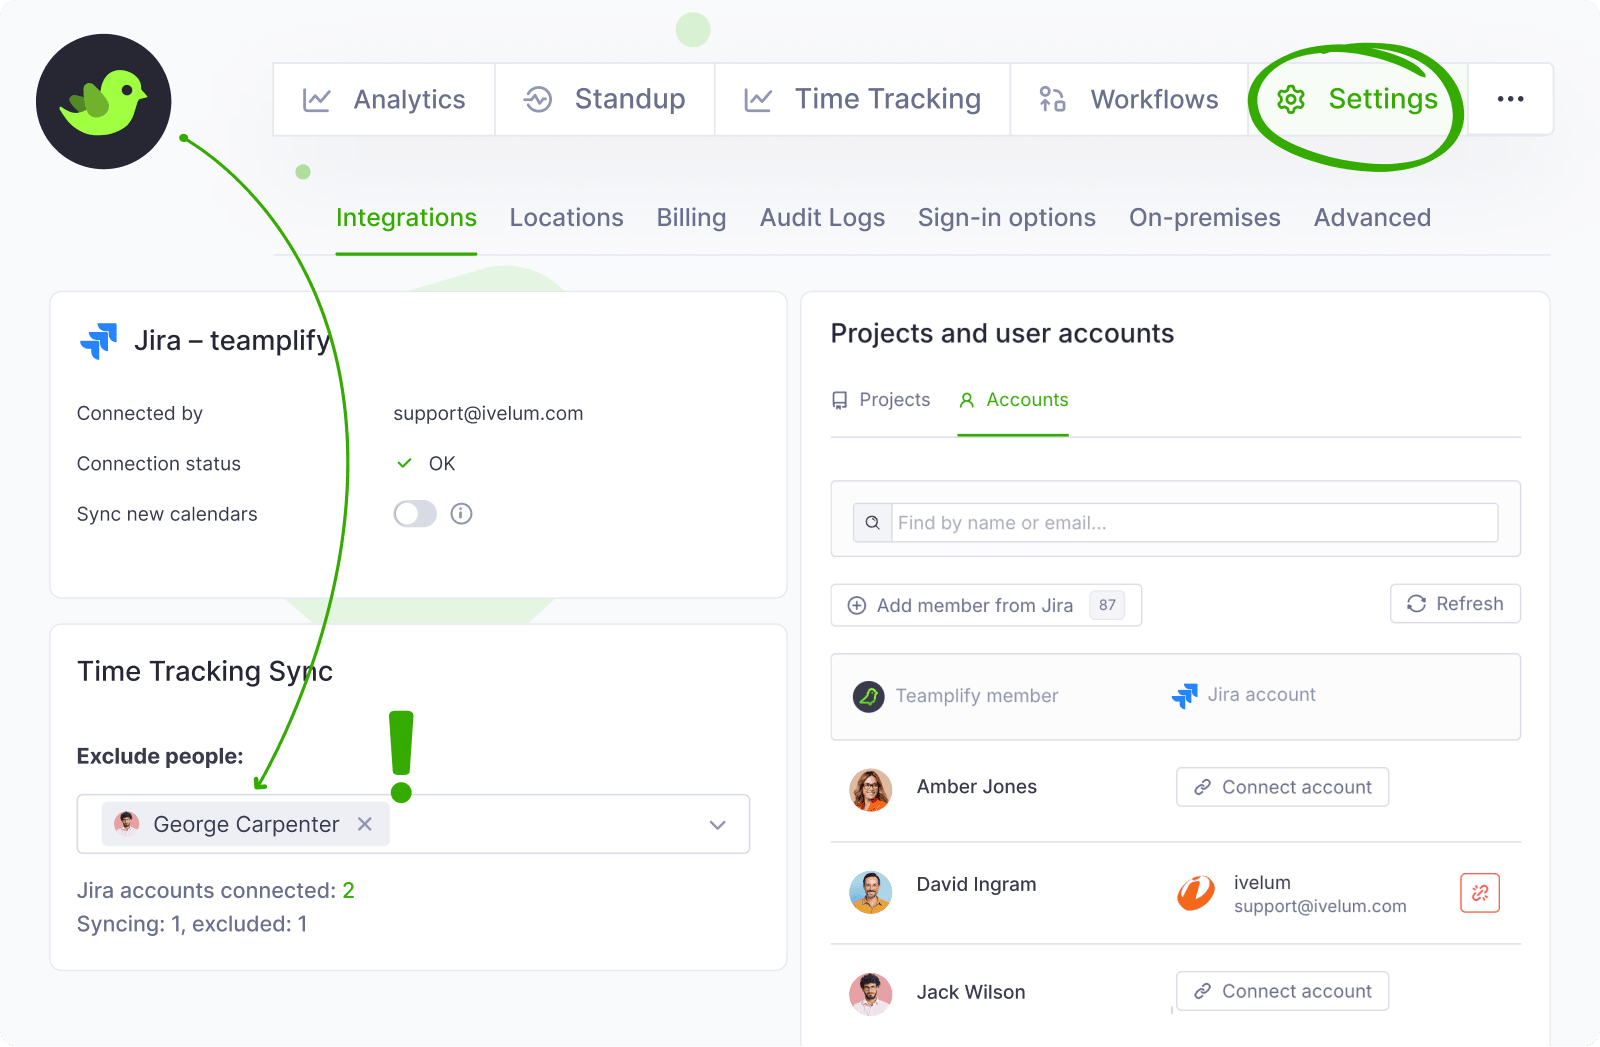
If you want to exclude specific team members from worklog sync, you can do so in the Jira integration settings. Their time will still be tracked in Teamplify, but no worklogs will be written to Jira for them.
How to turn off
To stop syncing worklogs:
- Turn off the setting — In your Jira integration settings, disable the Sync worklogs to Jira option. This pauses syncing while keeping the Teamplify for Jira app installed.
- Uninstall the app — Remove the Teamplify for Jira app from your Jira instance entirely. Teamplify will detect this automatically and stop attempting to sync.
In either case, existing worklogs in Jira will remain in place.
